How to Speed Up a Slow Laptop: 15 Easy Fixes That Actually Work

Speed up your laptop with these easy fixes.
8 min read • 1,639 words
Table of Contents
ToggleHow to Speed Up a Slow Laptop: 15 Easy Fixes That Actually Work
Is your laptop running slower than it used to? A sluggish device can be incredibly frustrating, especially when you rely on it for work, school, or entertainment. Knowing how to speed up a slow laptop is essential for maintaining productivity and ensuring a smooth user experience. In this article, we will explore 15 effective strategies that can help you restore your laptop’s performance without breaking the bank.
From upgrading your RAM to switching from an HDD to an SSD, these fixes are practical and easy to implement. You will learn how regular maintenance, such as cleaning up disk space and disabling unnecessary startup programs, can significantly enhance your laptop’s speed. Additionally, keeping your operating system updated can resolve bugs and improve overall performance. Say goodbye to lag and hello to efficiency with these actionable tips!
Step-by-Step Tutorial
Step 1: Uninstall Unnecessary Programs
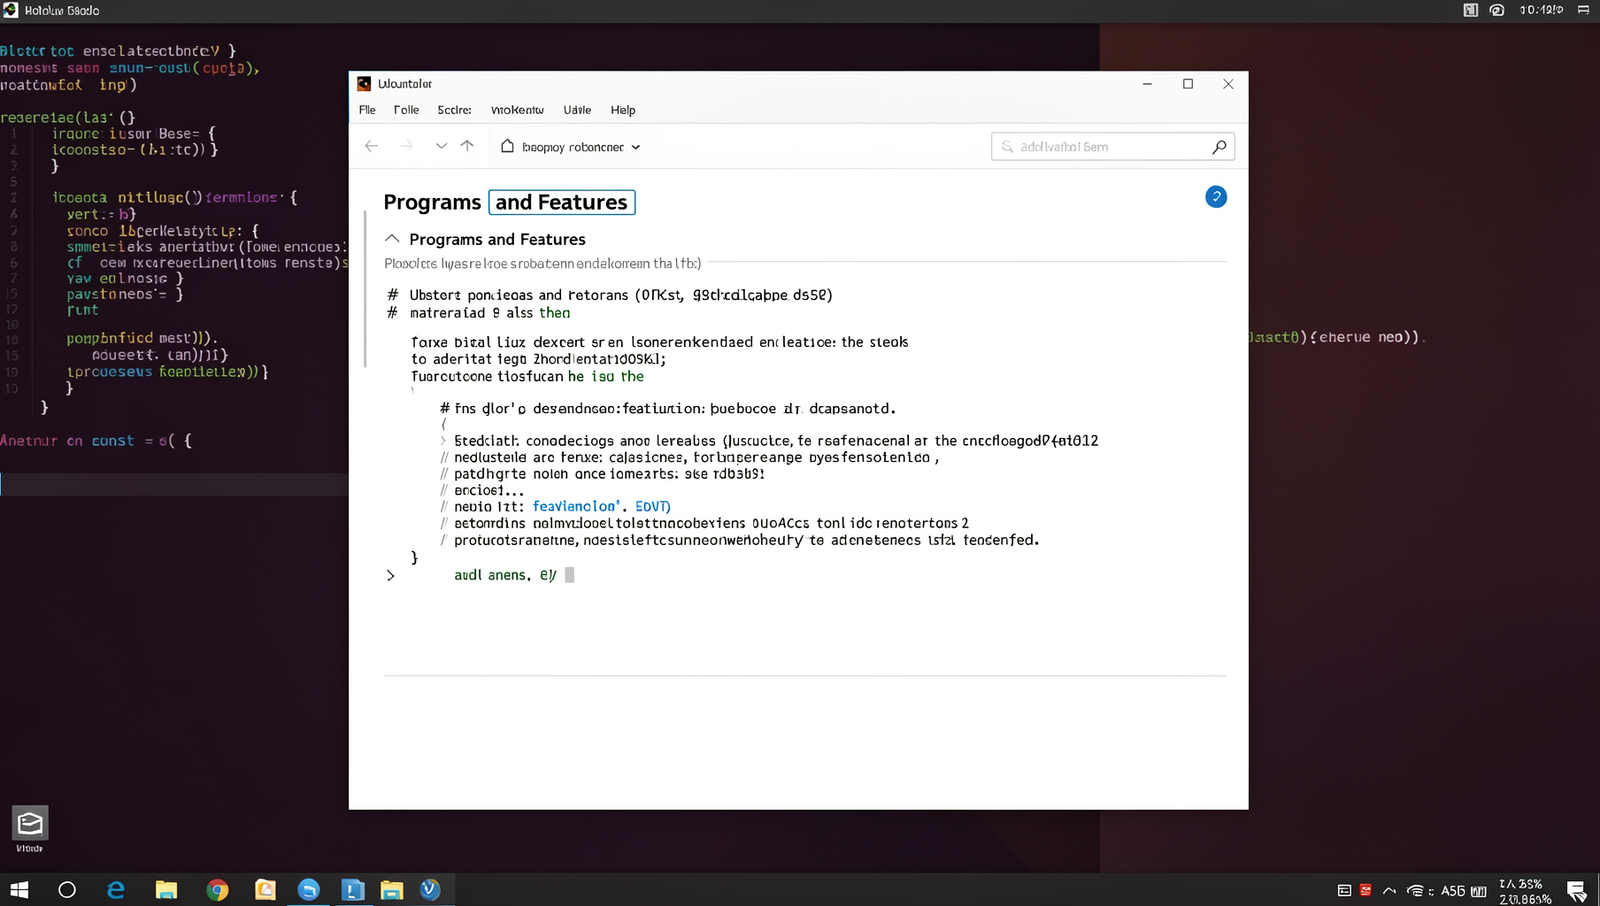
To begin speeding up your slow laptop, the first step is to uninstall unnecessary programs. This process can free up valuable system resources and improve overall performance. Follow these detailed instructions:
- Access the Control Panel: Click on the Start menu, then type “Control Panel” in the search bar. Press
Enterto open it. - Navigate to Programs: In the Control Panel window, find and click on “Programs.” This will take you to the section where you can manage installed software.
- Select Programs and Features: Under the Programs section, click on “Programs and Features.” This will display a list of all the software currently installed on your laptop.
- Review Installed Programs: Carefully review the list of installed programs. Look for any applications that you no longer use or need. This could include old games, trial software, or applications that you installed but never utilized.
- Uninstall Unnecessary Software: To uninstall a program, click on it to highlight it, then select the “Uninstall” option at the top of the list. Follow the prompts to complete the uninstallation process.
- Consider Using CCleaner: For a more thorough cleanup, consider using a program like CCleaner. It can help identify unnecessary software and assist in the uninstallation process.
- Check for Software Updates: Before uninstalling, check if there are any updates available for the software. Sometimes, updating can resolve performance issues without needing to uninstall.
Be cautious not to uninstall essential system programs or drivers, as this could lead to further issues with your laptop’s performance. After completing this step, you should notice a leaner list of installed programs, which can contribute to improved performance.
Step 2: Disable Startup Programs
Every time you turn on your laptop, a hidden army of background programs fights for your CPU, RAM, and disk drive. These are the applications that load automatically at boot—some essential, many completely unnecessary. By trimming this list, you can cut boot times from a sluggish minute to a snappy ten seconds, and free up resources for the tasks you actually want to do.
- Open Task Manager — Press
Ctrl+Shift+Escon your keyboard. This is the fastest way; avoid the olderCtrl+Alt+Deletemethod, as it adds an extra click. - Click the “Startup” tab — If you don’t see tabs, click “More details” at the bottom of the window first. The Startup tab shows every program that launches when Windows boots.
- Review the list by “Startup impact” — The column on the right tells you how much each program slows down boot. Focus on items marked “High” or “Medium”.
- Right-click any non-essential program — Choose Disable from the context menu. Repeat for every item you don’t recognize or don’t need immediately at login.
Be conservative. Only disable programs you recognize—like instant messengers, updaters for Adobe or Java, and third-party cloud sync tools. Never disable your antivirus, graphics driver, or system utilities like Windows Security. You can always re-enable any item later by right-clicking and selecting Enable.
After disabling, restart your laptop to feel the difference. Expect visibly faster boot times and less lag in the first minutes of use. If something critical stops working—like Wi-Fi or your touchpad—simply revisit this tab and re-enable the culprit.
Step 3: Clean Up Hard Drive
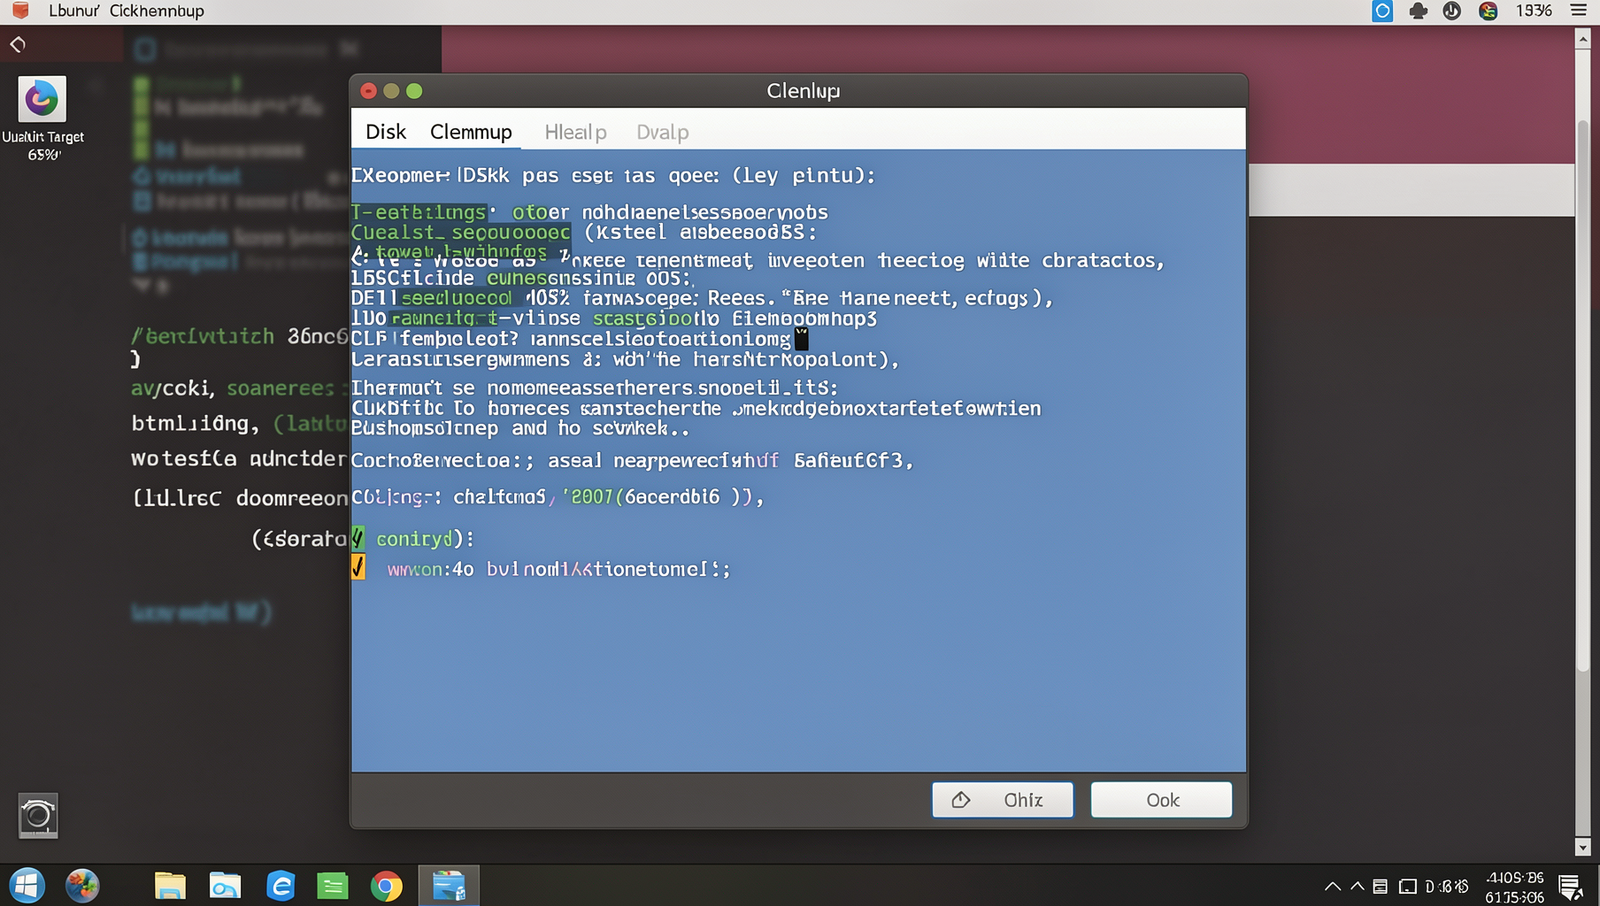
Cleaning up your hard drive is essential for improving your laptop’s performance. Follow these sub-steps to effectively use the built-in Disk Cleanup tool:
1. **Open Disk Cleanup**: Click on the Start menu and type ‘Disk Cleanup’ in the search bar. Select the Disk Cleanup application from the search results.
2. **Select Drive**: Once the Disk Cleanup tool opens, you will be prompted to select the drive you want to clean. Typically, this will be the C: drive, where your operating system is installed. Click on the drive and then press OK.
3. **Scan for Files**: The tool will take a moment to scan your drive for files that can be cleaned up. After the scan, a list of file types will appear, including temporary files, system files, and Recycle Bin contents.
4. **Choose Files to Delete**: Review the list and check the boxes next to the types of files you want to delete. Common selections include ‘Temporary Internet Files’, ‘Downloaded Program Files’, and ‘Recycle Bin’.
5. **Delete Files**: After selecting the files, click on the OK button. A confirmation dialog will appear asking if you are sure you want to delete these files. Click on Delete Files to proceed.
6. **Consider Third-Party Tools**: For a more thorough cleaning, consider using third-party tools like CCleaner or BleachBit, which can help remove additional unnecessary files.
7. **Schedule Regular Cleanups**: To maintain optimal performance, schedule regular disk cleanups. You can set reminders monthly to ensure your hard drive remains uncluttered.
**Warnings**: Be cautious not to delete important files or backups during this process. Always double-check what you are removing to avoid losing valuable data.
Step 4: Upgrade RAM
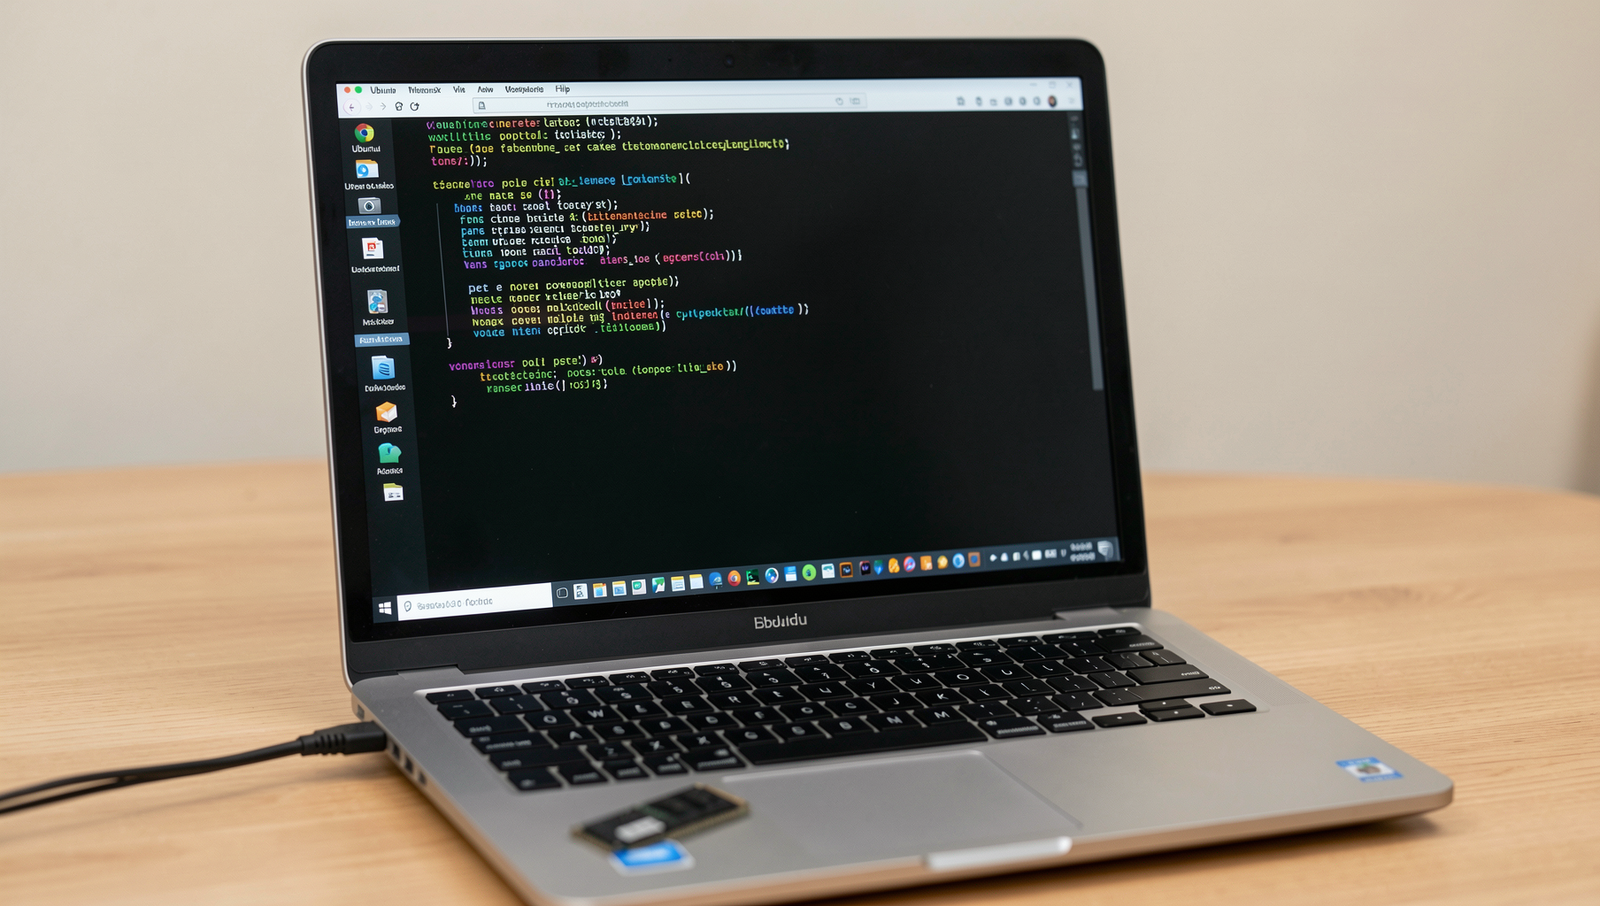
Upgrading your laptop’s RAM can significantly enhance its performance, especially if you frequently run multiple applications simultaneously. Here’s how to do it in a few simple steps:
- Check Your Laptop Specifications: Before purchasing new RAM, find out the maximum RAM capacity your laptop supports. You can usually find this information in the user manual or on the manufacturer’s website.
- Purchase Compatible RAM: Once you know the maximum capacity, buy RAM sticks that are compatible with your laptop model. Look for specifications such as DDR type, speed, and size. Websites like Crucial or Kingston can help you find compatible options.
- Gather Necessary Tools: You will need a small Phillips screwdriver and an anti-static wrist strap to prevent static damage to your laptop’s components.
- Power Down and Unplug: Shut down your laptop completely and disconnect it from any power source. Remove the battery if possible.
- Open the Laptop Case: Use the screwdriver to remove the screws from the back panel of your laptop. Carefully lift the panel to access the RAM slots.
- Remove Old RAM (if necessary): If you are replacing existing RAM, gently push the clips on either side of the RAM stick to release it from the slot.
- Install New RAM: Align the notches on the new RAM stick with the slot and gently press down until the clips click into place.
- Reassemble Your Laptop: Replace the back panel and secure it with screws. Reinsert the battery if you removed it.
- Power On and Test: Turn on your laptop and check if the new RAM is recognized. You can do this by going to the system properties in your operating system.
By following these steps, you should experience improved multitasking capabilities and overall performance. Always consult online guides or videos specific to your laptop model for additional installation help. Remember to ensure you are grounded to avoid static damage to components during the process.
Step 5: Check for Malware and Viruses
1. **Update Your Antivirus Software**: Before you begin the scan, ensure that your antivirus software is up to date. This is crucial as updates often include new virus definitions that help detect the latest threats. Open your antivirus program and look for an option to update. This may be labeled as “Update Now” or “Check for Updates.”
2. **Run a Full System Scan**: Once your antivirus is updated, initiate a full system scan. This process may take some time, depending on the size of your hard drive and the number of files. Look for an option that says “Full Scan” or “Complete Scan” in your antivirus interface. Click on it and allow the scan to run its course.
3. **Review Scan Results**: After the scan is complete, review the results carefully. Your antivirus software will typically categorize threats into types such as viruses, malware, or potentially unwanted programs (PUPs). Take note of any items flagged as threats.
4. **Remove Detected Threats**: Follow the prompts provided by your antivirus software to remove any detected threats. This may involve quarantining the files or deleting them entirely. Ensure you follow all instructions provided by the software.
5. **Consider Additional Tools**: For a second opinion, consider using additional malware detection tools like Malwarebytes. Download and install Malwarebytes, then run a scan to check for any remaining threats.
By following these steps, you can help ensure that your laptop is free of malware and viruses, leading to improved performance and a smoother user experience. Regularly checking for malware and keeping your antivirus updated is essential for maintaining system health.
Step 6: Optimize Power Settings
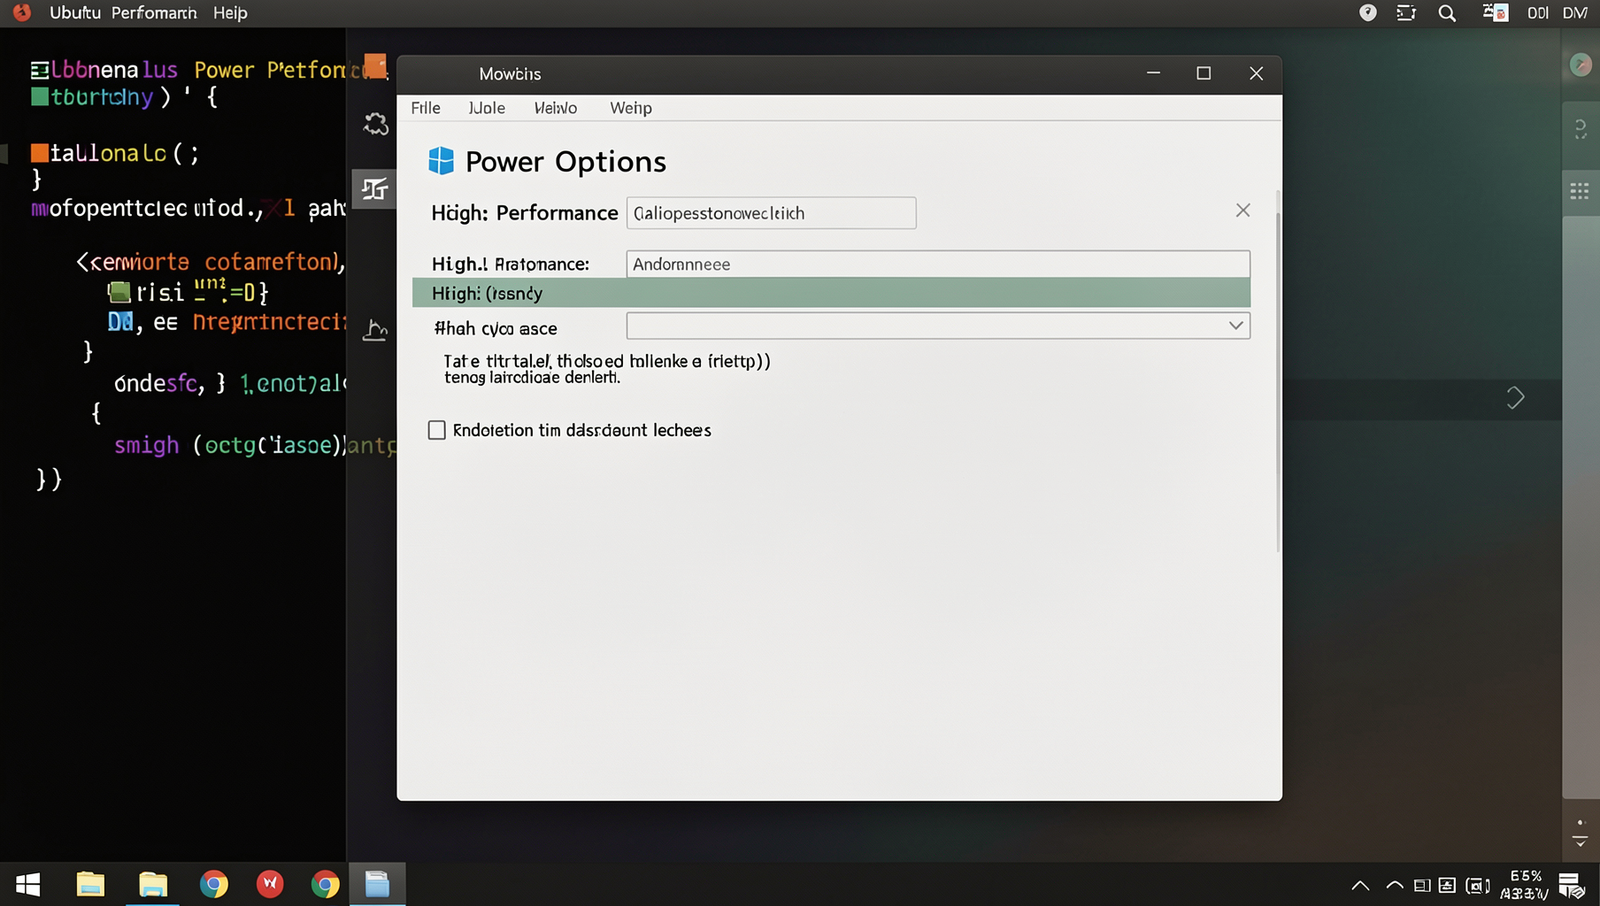
Optimizing your laptop’s power settings can significantly enhance its performance, especially during demanding tasks. Follow these steps to adjust your power settings effectively:
1. **Access Power Options**: Click on the Start menu and type “Control Panel” in the search
About the Author